Mac storage
How to Find Large Files on Your Mac
Running out of Mac storage? Find your biggest files with Storage settings and Finder, then remove what you no longer need without deleting the wrong thing.
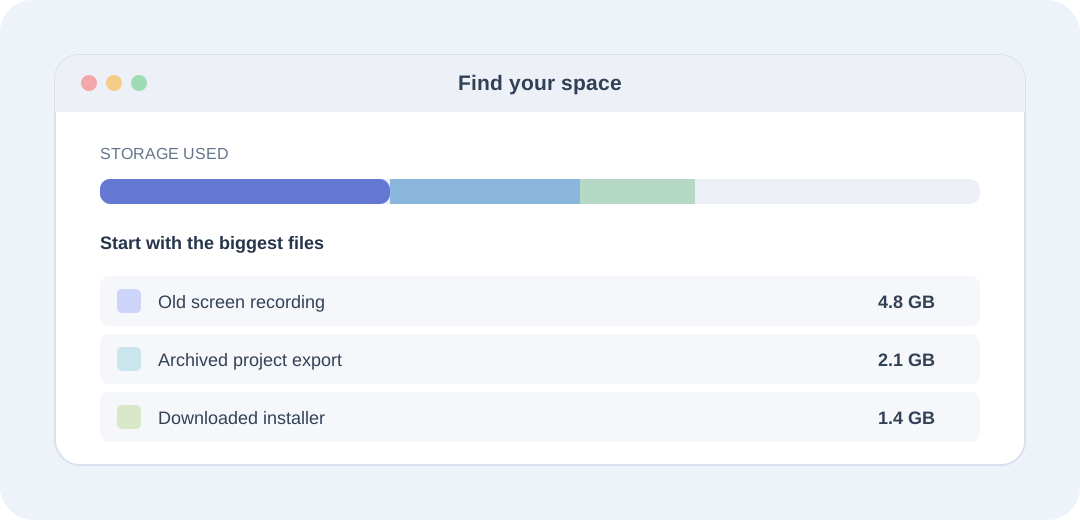
Your Mac says its storage is almost full. You open Downloads, delete a few things, and barely make a dent. The reason is often simple: a few oversized files are hiding among thousands of ordinary ones. Instead of guessing what to delete, find the biggest files first—and decide what deserves to stay.
The quick take
- Start in System Settings → General → Storage for a quick overview, then inspect Documents for large files when that option is available.
- Use Finder’s File Size search criterion to look beyond one folder; start with files larger than 1 GB.
- Review files in Finder before removing them. Large does not mean safe to delete.
Check what is using your Mac’s storage
First, open the Apple menu and choose System Settings → General → Storage. On macOS Ventura and later, this is the place to see how your startup disk is divided among Applications, Documents, Photos and other categories. Wait for the chart to finish calculating. If the bar changes while you are watching, that is normal.
Do not start by deleting whatever category looks largest. A large Photos library may contain years of irreplaceable pictures. A folder called System Data is not a to-do list. Think of this screen as a map: it tells you where to investigate, not what to throw away.
If Documents has an information button, open it. Depending on your macOS version, you may see views such as Large Files, Downloads and File Browser. The Large Files view helps surface individual space-hungry documents. File Browser helps when a whole folder is the problem. Check the location and filename before choosing any removal option.
Find files bigger than 1 GB in Finder
For a more targeted search, open Finder and press Command-F. Select This Mac rather than the current folder if you want to look across indexed locations. Below the search field, use the plus button to add a search condition.
Open the first condition menu, choose Other, search for File Size, and select it. Set the comparison to ‘is greater than,’ enter 1, and choose GB. You now have a list of files larger than your threshold. Change the limit to 500 MB if you want a wider view; raise it to 5 GB if the results feel overwhelming.
Switch Finder to List view with Command-2. If the Size column is available, click its header to sort. Rather than selecting everything at once, open the first few candidates and ask: Do I recognize this? Is it a copy? Could I download it again? Is another app still relying on it?
One catch: Finder searches depend on Spotlight indexing and the locations included in the search. Hidden application data, excluded folders, package contents and some external volumes may not show up as expected. A missing result does not prove the file is absent. Also be sure the external disk you mean to search is mounted and selected.
Look in the places large files tend to collect
Downloads is a sensible first stop. Open it from Finder’s sidebar or choose Go → Downloads. Look for old .dmg installers, .zip archives, large videos and files you downloaded twice. An installer you used months ago may no longer be necessary, but keep anything you cannot easily replace. If the same project files are still open elsewhere, be careful with duplicates.
Check Movies and Desktop next. Screen recordings can grow surprisingly large, especially if you record long demos or meetings. Video exports, archived project folders and duplicate media are worth inspecting. For creative work, an export and its original project are different things: deleting the original may remove the ability to revise the export later.
Use Finder’s Get Info command (Command-I) on a file to see its size and location. Press Space to Quick Look supported documents, videos and images without launching their usual app. A few seconds of inspection can prevent a much bigger problem than a full disk.
Find large folders, not just large files
Sometimes the culprit is not one giant video. It is a folder containing thousands of smaller items. In a Finder window, choose List view, then View → Show View Options. You may be able to enable Calculate all sizes for that view. Finder can then calculate folder totals, although it may take a while for large directories.
The Storage screen’s File Browser, when available, is another way to inspect disk usage by folder. You might find an old collection of meeting recordings, completed client exports or years of downloads. Review the contents before moving anything.
A useful rule: do not clean unfamiliar folders inside Library or application containers simply because they are big. They may store databases, caches, offline files or active project data. Use the application’s own storage controls or official uninstall instructions instead of dragging mysterious files to the Trash.
What if System Data is taking all the space?
System Data can be frustrating because it is a category rather than a convenient folder of files to delete. Apple explains that it includes items that do not fit neatly into the other storage categories. Its size may change as macOS categorizes content and clears temporary data.
Start with safe, visible steps: uninstall unused applications using their documented method, review Downloads, and remove completed exports you no longer need. Restarting may change temporary storage reporting, but do not expect it to magically fix every storage issue.
If the usage is still unusually high, investigate what your installed applications store before trying internet ‘cleanup’ commands. Do not remove random system folders, snapshots or caches based on a screenshot from someone else’s Mac. The right cleanup depends on which app created the data.
Delete carefully—and know when the space comes back
When you find a file you no longer need, move it to the Trash in Finder instead of racing through permanent-delete buttons. Check the Trash before emptying it. According to Apple, moving files to the Trash does not free the disk space until the Trash is emptied. Only empty it after confirming you have not removed something important.
Back up irreplaceable work first. If you use iCloud Drive, remember that deleting a synchronized file can remove it from other devices too. If you are unsure, move a copy to a properly backed-up external drive rather than deleting the only version.
MacEx can help when your cleanup involves repeated searches across many folders. Its Free Up Space feature helps you review candidates before moving them to Trash, and its duplicate tools help you investigate redundant copies. It is a second way to inspect your own files, not a reason to delete indiscriminately. The files stay on your Mac.
A simple 10-minute cleanup routine
Minutes 1–2: Open Storage settings and identify one category worth reviewing. Minutes 3–5: Search Finder for files larger than 1 GB. Minutes 6–8: Quick Look the biggest candidates and note which are disposable, replaceable or important. Minutes 9–10: Move only the confirmed clutter to Trash and review the Trash before emptying it.
Resist the urge to make your Mac perfectly tidy in one sitting. A single forgotten 6 GB recording is a more useful discovery than deleting a hundred tiny documents. The goal is not the biggest possible free-space number. It is a Mac with enough room to work, and files you can still trust will be there tomorrow.
If you find that downloads are your recurring problem, see MacEx’s guide to cleaning up the Downloads folder. If you suspect repeated copies rather than isolated large files, its duplicate-file guide is the better next step.
Further reading
Related MacEx guides
- Free up storage on your Mac — large files, old installers and more, reviewed first
- Find duplicate files on Mac — byte-for-byte checks before anything moves